Sunday, January 24, 2021

Heart Fake Bake Cookie Ornaments - Valentine's Day or Christmas


Supplies: 

  • Air Dry Clay
  • Rolling Pin
  • Food Storage Bag
  • Cookie Cutter
  • Drinking Straw
  • Tan Paint (or colors you can mix to make tan)
  • Paint Brushes
  • Slick Dimensional Fabric Paint 
  • Glue Gun
  • Scissors
  • Ribbon
  • Twine 

    First, take a handful of air dry clay and roll it in your hands to remove fold and crease marks. Then place the ball of clay on a flat surface and use a rolling pin to flatten it out like cookie dough. Place a food storage bag on top of your clay and use your cookie cutter to cut shapes (in this case, hearts) into the clay. Since you place the cookie cutter on top of the food storage bag and not directly on the clay, it will leave your cut hearts with a bit more of a rounded shape near the cut edge. This gives it a more "baked" and "out of the oven" appearance as opposed to a blunt, flat, cut out piece of clay. However, it may add a crease to your clay. If so, just use your finger to smooth it out. Repeat steps until you have the desired amount of heart shaped clay pieces and place the remaining clay back into the container for your next project. If you want to hang these hearts once complete, use the end of a straw to cut a hole in the top corner of each heart. Then, set the hearts in a location to dry for a few days. Drying times may vary depending on location and humidity. I placed mine on a sheet of paper and then put that paper on a plastic tray. The next day, I flipped each heart over to allow the other side to dry. 

    Once your hearts are completely dry, use your tan (or sugar cookie colored) paint to cover all sides of the heart and around the inside of the hole. Allow that full coverage layer of paint to dry. It should dry rather quickly. If you would like to draw out designs in pencil to follow when applying the dimensional fabric paint, then now would be the time. I however, just went straight at it with the paint. I started by applying dots of slick white dimensional fabric paint around the parameter of the heart. Once that was complete, I took a paint brush and stuck it into each dot of paint and dragged some of the paint inwards toward the center of the heart. Repeat that around the perimeter of the heart.  Then I went into the center and made random "swirls" of paint. Even pressure on the tube and steady motion of the hand with the tip of the paint slightly above the heart is needed in order to achieve a line of paint without breaks. However, if you don't like your design, it is not hard to take a paint brush and "scoop" up and remove the paint. Once my swirls were to my liking, I added dots to fill in any empty spaces as well as around the edge of my paint strokes I pulled toward the center. 

    Let your dimensional paint dry a day or two. Make sure it is fully dry before tying on a piece twine to hang the heart. Lastly, I attached a ribbon bow to the twine with hot glue.  


Think of all the fun shapes you can cut out and make "cookies" for besides hearts!!! They don't even have to look like sugar cookies. You can make them look like chocolate or gingerbread as well. 

Happy Crafting!!! 


Wednesday, December 23, 2020

4 Leaf Clover Ornaments


I'm pretty good at finding 4 leaf clovers but have never known what to do with them. I came up with a Christmas ornament that utilizes a few of the clovers I found while we played in my mother's yard this summer. She passed away in August, so this was our last summer together. I am giving them to my family members for Christmas.

Supplies:

  • Clover
  • Wood slices with pre-drilled holes
  • White glue
  • Felt tip pen
  • Paintbrush
  • Twine
  • Glue gun
  • Ribbon

First, take the clover you collect from the yard and arrange them flat on a sheet of toilet paper. Lay a second sheet of toilet paper on top of the clover. Then, press it inside the pages of a large hardback book for a week or two (depending on humidity) until completely dry and brittle.


Then, use a paint brush to apply white glue to the entire back of the dried clover. This will make the clover a little more pliable. You can then press your clover onto your wood slice and gently move the leaves to the correct position. Then, squeeze white glue in a spiral pattern from the center of the wooden slice, out toward the edges. Then, use your finger to smooth it out. Start at the center and swipe the glue evenly out to the edges, rotating the slice as you go. Basically, you just want to gently smooth out the glue, ensuring to leave a layer with as few bubbles as possible, while not disturbing your clover.


After that layer of glue has dried clear and is no longer tacky, you want to add another layer of glue and smooth it out, covering the entire clover and face of the wooden slice again. Then let that dry completely. Repeat again....Altogether, I applied 6 layers of white glue.


Once you have multiple layers of glue that have dried, and you can no longer feel a raise between where the clover is and the wood is, you can use a felt tip pen to write a saying on the back. I used an old Irish blessing for the new year ahead. 


Next add your twine. Cut a piece of twine about 10 inches long. Fold it in half and stick the folded point into the hole from the side with the clover. Pull through enough of the twine to stick the cut ends of the twine over the top of the disk and through the loop made by the folded middle point. Pull the ends securing the twine to the disk. Then make a knot at the cut end of the twine securing the ends together. You should now have a loop with which to hang the ornament. Lastly, hot glue a ribbon bow to your twine near the wooden disk.

Ta da! You have a completed ornament. It is not a craft that can be start to finish in a day. It takes time to find your clovers, press and dry them, and add layer after layer of glue.  

Tip: The greener your clovers dry, the better. I had a few clover that I had stuck in my phone case to dry instead of in the toilet paper and they turned a bit more yellow. When I put the glue on them, the yellow leached a bit into the glue, casting a yellow glow around the clover. Not something you want if you are going for perfection.

Tip 2: I did not use ModgePodge but you probably could. I used the generic large container of white glue from the Dollar Tree. It was pretty thin to begin with and dried very clear. If you have Elmers or another thick white glue, just be sure to check that you can smooth it well and that it dries hard and clear. 

Tip 3: Maybe start with one as a sample run. You do not want to make ten at once just to realize something went horribly wrong and you wasted your special 4 leaf clovers. 

Happy crafting!! 


Saturday, April 11, 2020

DIY L.O.L Doll Furniture out of Popsicle Sticks


We are currently in isolation, but not at our own home. When we got to our current location, I had to think about what kind of crafts my daughters and I would enjoy using while not spending alot of money. Ideally, whatever craft we made could serve dual purpose as a gift, storage, home decor, or a toy. I decided on canvases, paint, brushes, felt, glue gun, beads, cording, and popsicle sticks which we purchased online and shipped to the house.


My daughter loves LOL dolls and luckily, we have a few that we packed. However, we did not bring any furniture for them. So, we decided to use our limited craft supplies to not only have fun building doll furniture, but to also have fun painting the furniture and then playing with it. These furniture pieces barely made a dent in our box of 1000 sticks. My daughter had a great time painting these.

Items:

  1. Large Sharp Scissors
  2. Popsicle Sticks
  3. Glue Gun
  4. Glue Gun Sticks
  5. Pencil
  6. Ruler (if you want to be precise) 
  7. Paint
  8. Brushes
Bunk Bed:


Triple Bunk Bed: 


Crib:


Shelf: 


Picnic Table: 


Thank you for looking. Happy Crafting!


Friday, November 25, 2016

Our Elf on the Shelf is an over-achiever.

It's the day after Thanksgiving, and our Elf is already at it. We woke up this morning and caught him trying to put up the first tree of Christmas on our dinning room table. I can't decide if he is an over-achiver or just trying to tell us that it is time to get the 12' tree down from the attic and get to decorating.

Day 1

It's day two of having our little elfy friend with us. It appears as though he has admitted defeat and has solicited some assistance from one of our households more permanent residents.
 
Day 2
 
 
So, I do believe that our little elf has learned the art of delegation. Our little Lego people are building a Mega Blok home for the elf and he's just chillaxing.


Tuesday, May 26, 2015

New Headbands

I finally stole a weekend to make more headbands. Oh happy day! I used to make headbands almost every evening in Cali but now, I am just too exhausted. Soon, I will start back up selling at craft fairs. I just really need to amp up my stock before then. This weekend I found a random box with a few flowers, lace, ribbon and voila.... New Headbands.  Slowly rebuilding the stock.


https://www.facebook.com/WhatILoveToday

When I was little, I wanted to be a fashion designer. This will probably be the closest I will ever come because now my dreams are a little different. I can handle being an accessory crafter on the side.

Thursday, April 16, 2015

Girl Scouts


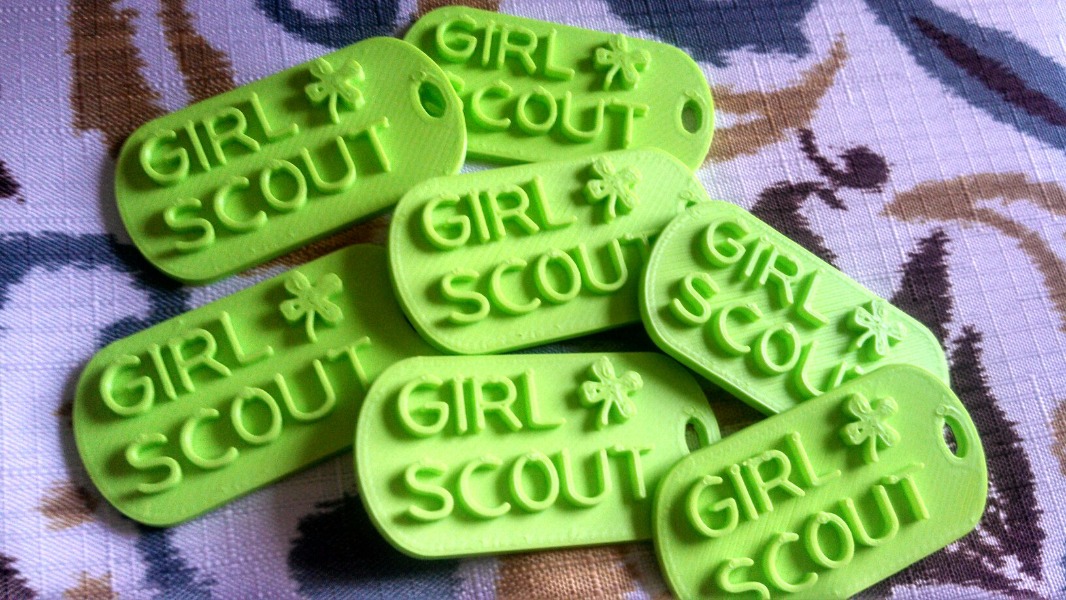
My first 3D printed items! Love the new Cube 3D printer. I will be teaching a local girl scout troop about design and prototyping. Each girl scout will get to keep a charm necklace. Super Excited!! Looking forward to purchasing some new colored material. Luckily the Cube came with neon green material so I was able to make the girl scout charms for their invention meeting.
If you would like to help fund my efforts of bringing engineering to young females, please visit http://www.gofundme.com/engineer_females

3D printers

Thank you to everyone who has supported this cause to raise money for educational materials to bring engineering to females.  

http://www.gofundme.com/engineer_females


I have recently attended an International Technology and Engineering Educators Association (ITEEA) conference and talked with companies from across the country who support the cause of educating females through hands on activities in STEM. 


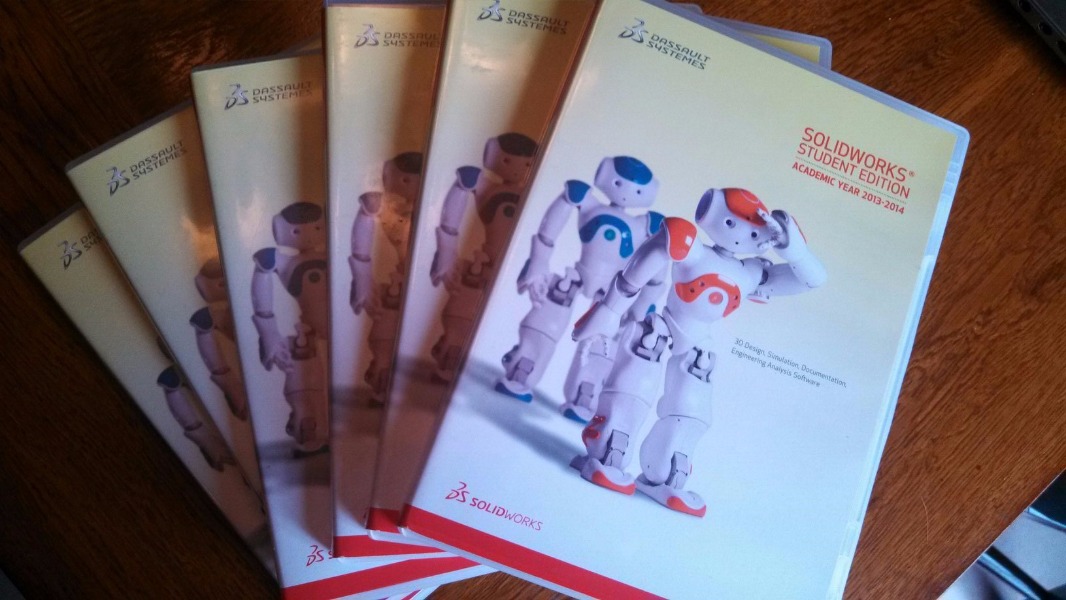
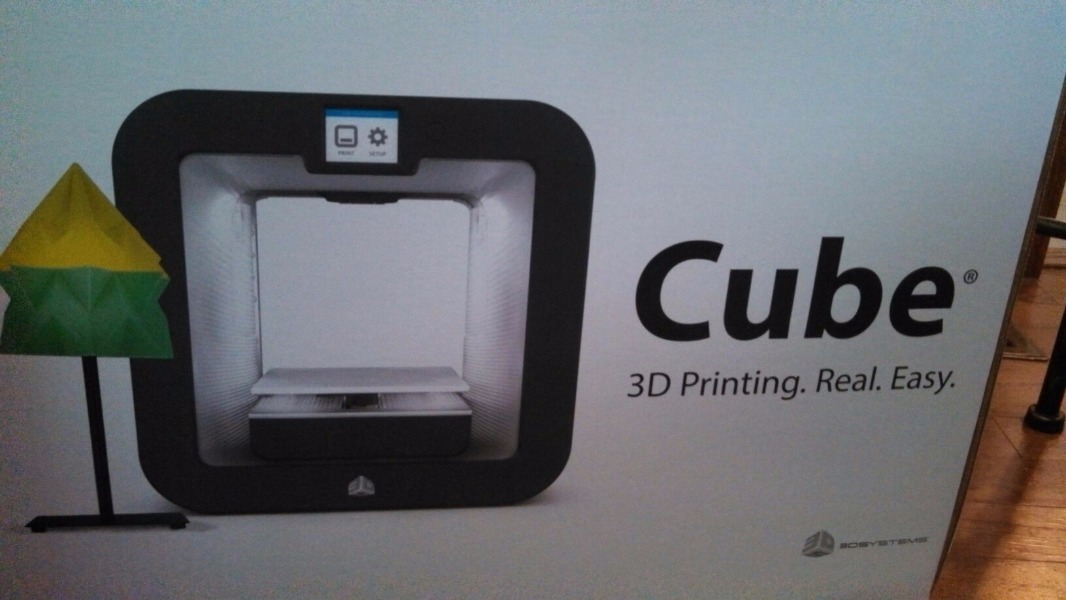
GREAT NEWS!! After networking and sharing my experiences with the free library programs I put on, Dassault Systèmes SolidWorks Cooperation donated 6 one-year copies of SOLIDWORKS Student Addition. That means, we now have 3D CAD Software to create computer models of participant designs. Then, I talked with 3DSYSTEMS and Technology Education Concepts (tec) who donated a new Cube 3D Printer by 3DSYSTEMS. We can now print new prototype designs. 


New SOLIDWORKS 3D design software

New Cube for 3D prototype printing

With this generosity we have the ability to bring real world design and prototyping capability to young female students. The donations collected from this site will continue to fund the printing coil materials as well as other necessities dependent on the activities created for the programs. 

The next program on the list is an innovation demonstration with a local girl scout troop. They have been inventing products the past month and will be bringing their inventions/ prototypes to the next meeting. There, I will demonstrate how designers and inventors can use 3D software and 3D printers to create new products. The girls will each take home a necklace with a small charm designed and printed with the help of the new SolidWorks software and Cube. The wearable necklace will be a symbol of not only being a girl scout but also a sign of being a female interested in STEM.